Scribble Effect to Text or Object in Adobe Illustrator
Illustrator, a powerful tool for graphic design, offers a myriad of features for creative exploration. In this tutorial, I’ll guide you through the process of applying chalk and pencil effects to objects and texts, enhancing the visual appeal of your designs.
Understanding the Scribble Effect
To start, select the object you wish to apply the scribble effect to. Then, navigate to Effects > Stylized > Scribble in the menu. Immediately, you’ll notice the scribble effect applied to your selected object.
Adjust the effect by modifying various parameters:
- Direction: Alters the angle of the lines.
- Line Thickness: Changes the appearance from thin pencil strokes to thicker lines.
- Slope and Spacing: Adjusts the tilt and gap between lines for varied effects.
Experiment with the ovality and spacing values to achieve more realistic or exaggerated results. For example, setting the line width to 1 creates a fine pencil-like appearance.
Applying the Effect to Texts
Now, let’s apply this effect to text. Start by writing your text. Without needing to convert it into a different format, apply the Scribble effect directly. You can use the previously adjusted values or modify them anew.
Remember, the text remains editable even with the effect applied. Adjustments like changing the color, thickness, and spacing are essential when altering text size to maintain the desired look.
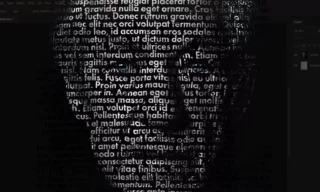
Color Variations: Black Pen to Chalk Effect
By changing the colors, you can transform the appearance dramatically. For instance:
- Black Pen Effect: Achieved with standard settings.
- Chalk Effect: Apply a white color on a black background to mimic chalk on a chalkboard.
When resizing text or objects, revisit the scribble settings to ensure the effect remains consistent and visually appealing.
Conclusion
This tutorial provided insights into creating chalk and pencil effects in Illustrator, a versatile technique for both objects and text.