Download Free Fonts and Install Quickly
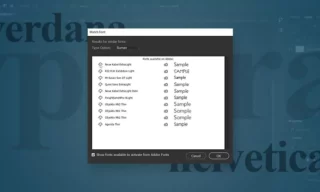
Have you ever opened a document or a design project and felt like something was missing? Often, the magic lies in the details we overlook – the power of fonts. Whether you’re a graphic designer maneuvering through Adobe Creative Cloud applications or an editor crafting compelling presentations in Microsoft Word or PowerPoint, fonts play a pivotal role.
In this guide, we delve into the art of font management: how to seamlessly integrate new fonts into your projects, and the importance of maintaining a clean font library. Get ready to transform your work with just a few clicks!
Installing Fonts on Windows
Fonts typically come in two file formats: OTF (OpenType Font) and TTF (TrueType Font). These formats are widely supported and easily installed on Windows systems. Here’s a simple breakdown:
OpenType Font (OTF)
- Developed by Adobe and Microsoft.
- Supports advanced typographic features like ligatures and alternate characters.
TrueType Font (TTF)
- Developed by Apple and Microsoft.
- Known for its wide compatibility and digital readability.
Installation Steps
- Locating the Font File: Whether you’ve downloaded a free font from the internet or purchased one, it’s usually in OTF or TTF format. If your font is compressed (in ZIP or RAR format), extract the files first.
- Previewing the Font: Double-click the font file. A preview window opens, displaying the font style with the classic test phrase, “The Quick Brown Fox Jumps.”
- Installing the Font: Click the ‘Install’ button at the top left of the preview window. Alternatively, right-click the font file and select ‘Install’.
Tips for Effective Font Management
- Be Selective: Only install fonts you need. Excessive fonts can slow down your applications.
- Organize Your Fonts: Consider using a font management tool to keep your collection organized, especially if you’re a professional designer.
Deleting Unused Fonts
Just like installing new fonts, managing your existing collection is crucial. Unused fonts not only clutter your system but can also impact performance.
How to Delete Fonts
- Navigate to the Fonts Folder: Go to Control Panel > Fonts.
- Selecting Fonts to Remove: Browse through the list and identify any fonts you no longer need.
- Deleting Fonts: Right-click on the unwanted font and select ‘Delete’.
Best Practices
- Backup First: Before deleting, consider backing up fonts you might need later.
- System Fonts: Be cautious not to delete essential system fonts used by Windows and other applications.