How to Manually Install Fonts on Your Mac: A Step-by-Step Guide
In the digital realm of design and typography, having access to a diverse array of fonts can significantly enhance the aesthetic appeal of your projects. Whether you’re a graphic designer, a web developer, or just someone looking to personalize your digital workspace, understanding how to manually install fonts on your Mac can open up a world of creative possibilities.
Download Your Preferred Font
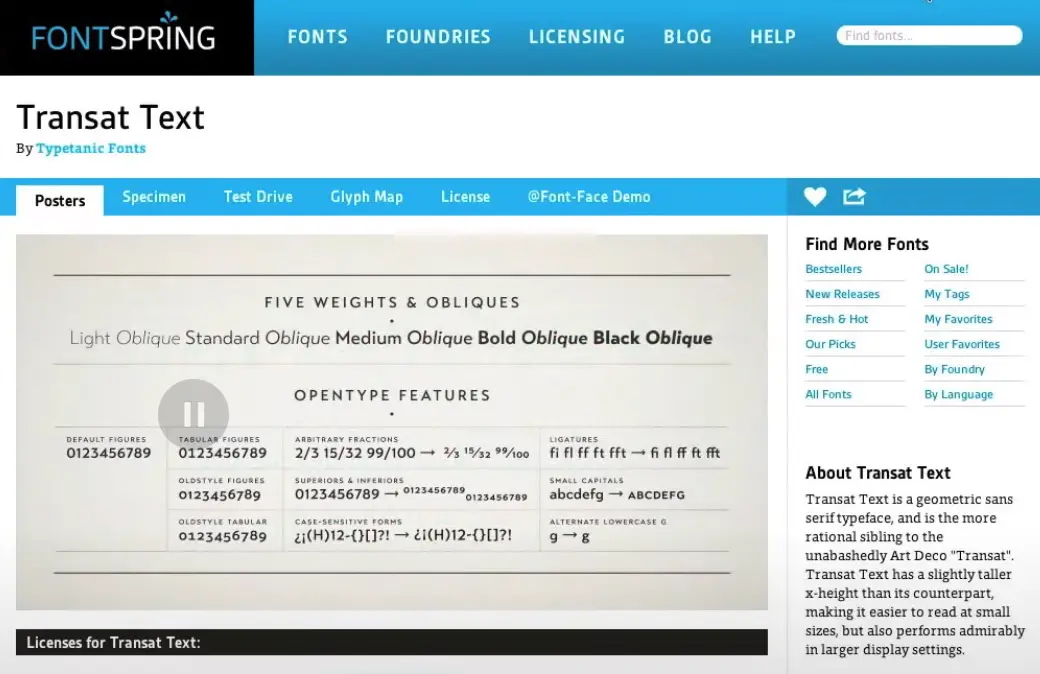
Before we dive into the installation process, the first step is, of course, to choose and download the font you wish to install. Once you’ve selected your font, proceed to download it. You might find it available for download from sources like fontspring.com. Ensure the font is saved in a location on your Mac where you can easily access it, such as your Downloads folder.

Locate the Font Files
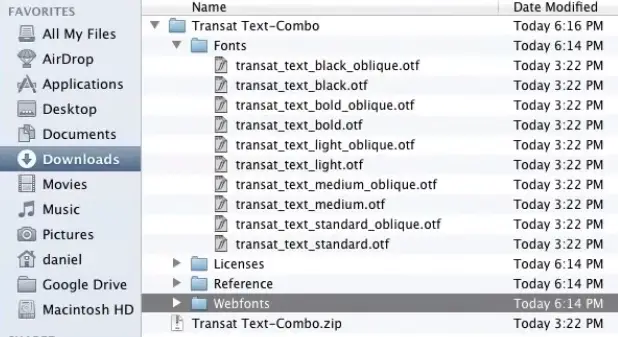
After downloading, navigate to your Downloads folder to locate the font files. Fonts from Fontspring, for example, typically come packaged with a variety of files, including a folder for desktop fonts and, if purchased, web fonts. It’s important to note that web fonts are not what you’ll use in this scenario; instead, focus on the desktop font files.

Accessing the Correct Folder on Your Mac
Installing fonts manually on a Mac involves placing the font files into the correct folder within your system. Macs feature two primary library folders where fonts can be installed: one for your specific user profile and another for the entire computer. For most purposes, and to keep things simple, we’ll focus on installing fonts for your user profile.
To access the correct folder, follow these steps:
- Open a new Finder window.
- With the Finder window active, navigate to the top menu bar and click on “Go.”
- A list of locations will appear, but you won’t see the Library folder listed immediately. To reveal it, press and hold the “Option” key on your keyboard, and the Library option will appear in the list.
- Click on the Library option to access your user’s library folders.
Installing the Font
Within your user’s Library folder, look for a folder named “Fonts.” This is where you’ll need to install your downloaded font files.
- Return to your Downloads folder (or wherever you’ve saved your font files).
- Select all the font files you wish to install.
- Drag and drop these files into the Fonts folder you’ve opened in your Library.
You’ve successfully installed the font. It should now be available for use in various applications on your Mac.
Final Thoughts
Remember, while manually installing fonts is a straightforward process, it’s crucial to be mindful of font licenses. Not all fonts are created equal in terms of licensing, and using a font without proper permission can lead to legal issues. Always ensure you have the right to use a font for your intended purpose, and when in doubt, licensing your fonts from reputable sources like Fontspring can save you from potential headaches down the line.


