A Step-by-Step Guide to Using Cloudflare: Boost Your Website’s Speed and Security
Are you tired of your website lagging behind in the digital race? Imagine a world where your website is not only secure from modern cyber threats but also lightning-fast, no matter where your visitors are in the world. This is not just a dream; it’s achievable with Cloudflare.
Let’s dive into the transformative journey of bolstering your website’s security and speed, uncovering the secrets to achieving top Google rankings and delivering an unparalleled user experience.
Increasing Your Website’s Load Speed With Cloudflare
In today’s digital age, securing your website and enhancing its loading speed are crucial steps in strengthening its presence, especially on search engines like Google.
Fast-loading and secure websites not only provide a better user experience but also rank higher in search engine results. This is particularly important for businesses relying on online visibility to attract customers.
What is Cloudflare?
Cloudflare is a popular service known for enhancing website security and performance. It offers various features such as DDoS protection and Content Delivery Network (CDN) capabilities.
By integrating your website with Cloudflare, you can protect it from common threats while ensuring fast content delivery to visitors worldwide.

Setting Up A Cloudflare Account
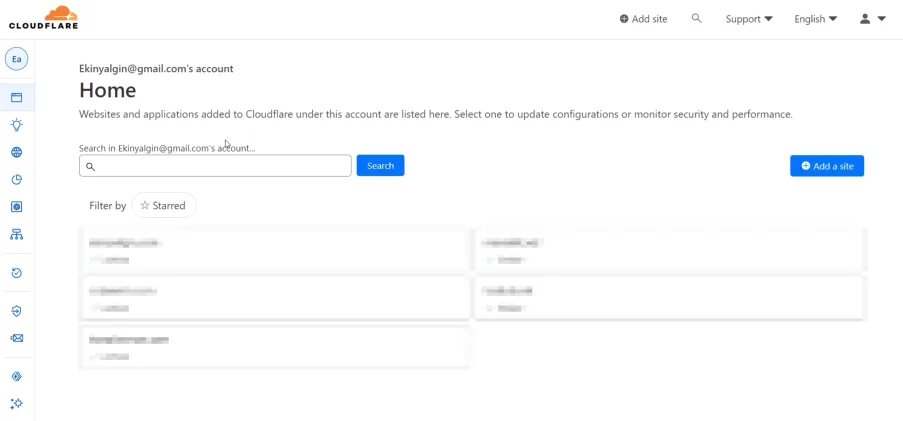
To begin, access the Cloudflare website and sign up for an account. Upon logging in, you will be greeted with an intuitive dashboard. Look for the “Add a Site” button to start integrating your website. Enter your domain name and proceed by clicking “Continue”.
Cloudflare offers a range of plans to suit different requirements. You can start with a free plan and later upgrade to paid options as your needs grow. The free plan typically suffices for basic needs, offering essential security and performance improvements.
Integrating Your Website With Cloudflare: DNS Configuration
Once you select a plan, Cloudflare will present you with DNS information. It’s recommended to remove the existing DNS records and input them afresh for accuracy. Add records by clicking the “Add Record” button and inputting the required values. Include ‘A’, ‘CNAME’, and ‘MX’ records as needed, ensuring you input the correct IP addresses and domain names.
After configuring DNS records, Cloudflare will provide new Name Server details. These need to be updated where your domain name was registered (e.g., Namecheap.com). Access your domain’s management panel and replace the existing Name Servers with those provided by Cloudflare.
Understanding DNS Propagation
It’s important to note that DNS changes don’t take effect immediately. They can take anywhere from a few hours to 48 hours to propagate worldwide. During this time, using tools like DNS Checker can help you track the status of these changes.
As the DNS updates spread across the internet, ensure that your website remains accessible to visitors. Patience is key during this process, as it is a natural part of the internet’s infrastructure.
Once you have completed all the steps, including updating the Name Servers and confirming the DNS propagation, you can finalize the setup. Make sure to save all changes and click the “Finish” button on Cloudflare’s dashboard to complete the integration process.
Conclusion
This guide has provided a comprehensive walkthrough on setting up a Cloudflare account and integrating it with your website. This integration will enhance your website’s security and performance, ensuring a better experience for your users and improved search engine visibility.


